On your smooth piece
Use the printed image or your own drawing for your mishima template to carve a design onto your cup. Your cup will need to be leather hard before you attempt to add a design to it. If your cup is too wet then it may warp while you are trying to carve into it. You may use a hair dryer to dry your cup enough to carve into it. Put your drawing on your cup and use a piece of tape to secure it. You will need to be very careful during the transfer process. If you move the drawing while you are working on the transfer, you will not be able to carve the design. Be sure your design is secure. Use the needle tool to go alone each line and poke small holes. You will use these small holes to go back and trace your design. Be accurate and careful in this process. The closer you poke holes the easier it will be to carve your design.
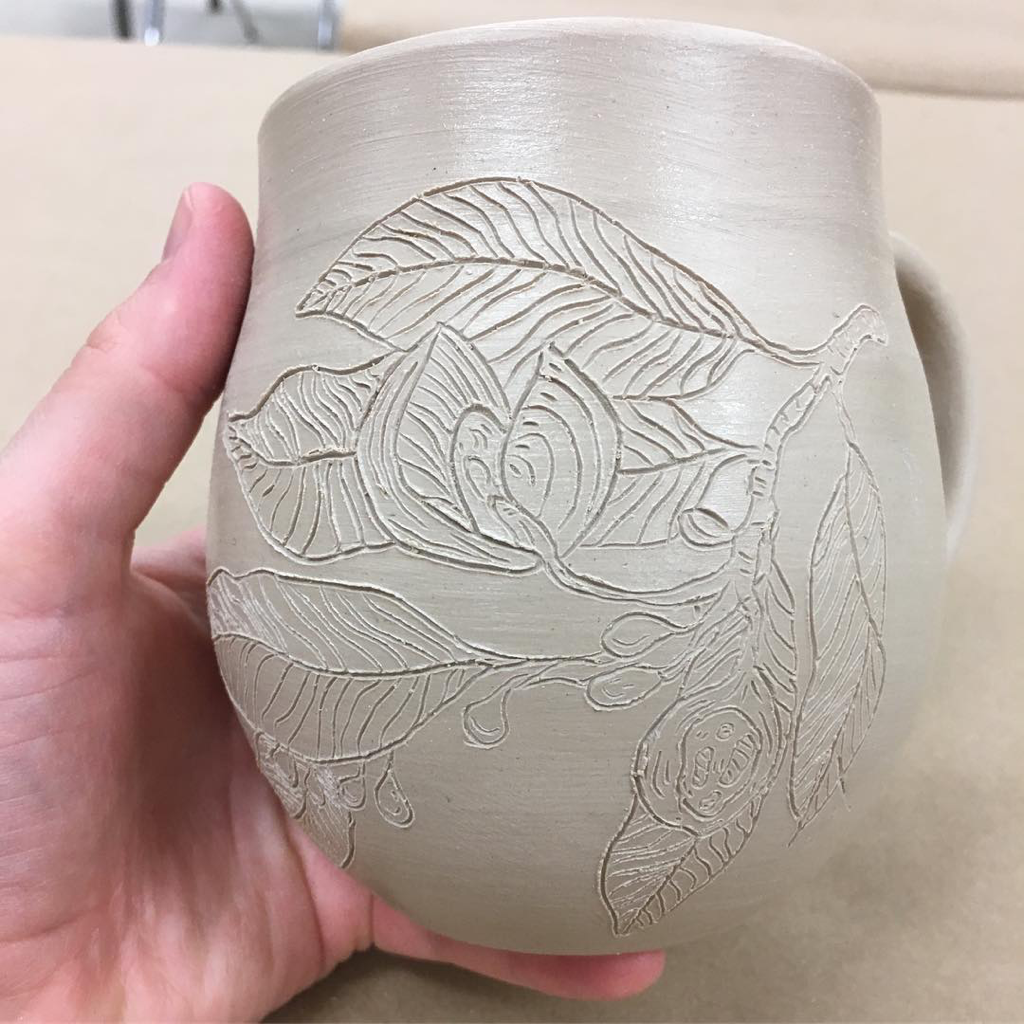
Once you have finished transferring all of the lines on your design take the paper off of your cup and start to carve. You will be using a carving tool to carve your design. You must be very careful during this process. If you push through too hard you will go through your cup and you will have a hole in it. You want to carve out about 1/8th of an inch. Carve carefully and slowly. Take your time. It is well worth the time it takes.
Paint underglaze over the lines on your cup. Make sure you get it into all of the grooves. Use a metal rib to scrape off all of the excess underglaze or use the technique in the video below. You should be left with glaze in the carved area only. You may also use a sponge to clean up your design. Keep in mind that any underglaze left on your cup will show up darker when it has been fired. Once your piece is smooth and ready. Put your piece on the cart by the desk to be bisque fired.


|


|
